If you need to print large amount of documents at a reasonable price, the idea of trying a CISS (continuous ink supply system) will come up sooner or later. The name of the system speaks for itself – once you’ve got it installed, all you will have to do is to add more ink and keep on working, while saving your time and money.
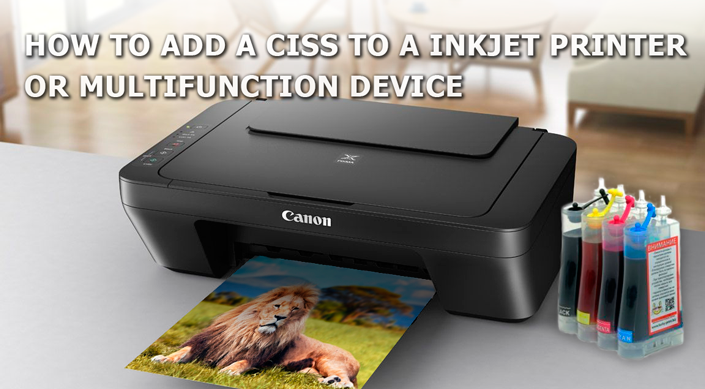
Nowadays, continuous ink supply systems (or CISS) can be fitted to most printers, plotters or multifunction device models by Canon, HP, Epson and others. However, printer manufacturers have been doing their best to make adding such a system to your printer a real challenge, and the reasons are obvious: just think about considerable income they would lose if we didn’t have to buy replacement ink cartridges.
- Advantages of uninterrupted printing
- How the continuous ink supply system works
- How to install the CISS by WWM
- Pumping ink into the cartridges
- Fitting the flexible ink tubing inside the multifunction device
- Starting the CISS and testing the print quality
- Placing the CISS tanks properly and controlling the ink level
- Questions and answers
- Comments
Advantages of uninterrupted printing
Talking of continuous ink supply systems, they are a perfect choice for home and office use. They can reduce your printing cost drastically, because you only have to buy ink, instead of the expensive cartridges.
As long as you choose quality ink from trusted producers, the fact of having a continuous ink supply system doesn’t affect the quality of print and doesn’t change the printer’s design either. Depending on a specific printer model, one 100 ml ink bottle can actually replace from 15 to 25 cartridges, so you’ll be impressed by how much you can save.
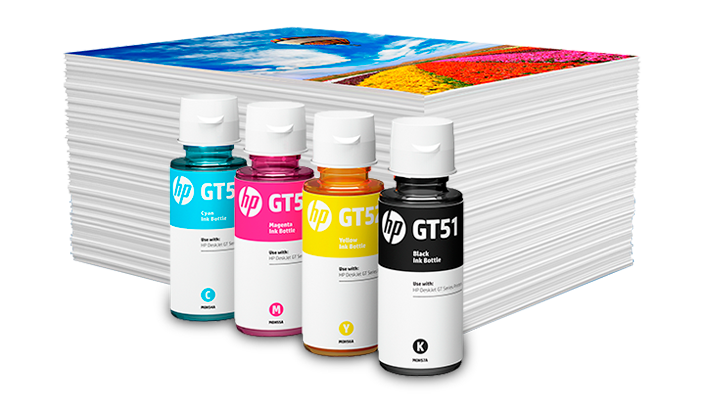
Also, using a continuous ink supply system helps to extend your printer’s life cycle. When replacing an original cartridge, you have to open the printer’s cover and the print head comes into contact with air inevitably, which is very undesirable – the print head can dry up! If it happens, you will have to buy a new print head which costs almost half the price of a new printer!
In fact, the ink supply system is placed next to the printer, and a set of flexible tubes is used to connect the printer and the system. When you have to refill the ink tanks, you don’t need to open the printer cover. It means the air can’t possibly get into the print head, so it can’t dry up, and it will work longer!
How the continuous ink supply system works
The continuous ink supply system includes ink tanks, ink cartridges, and a set of flexible tubes that are used to connect the tanks and the cartridges. The main purpose of the system is to ensure continuous ink flow from the tanks to the print heads. This approach means that ink will not spill over the print head and that you will never run out of ink while printing.
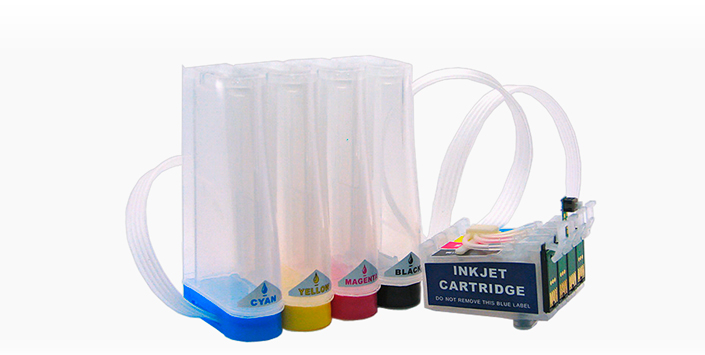
The system is based on the principle of Mariotte’s bottle (Edme Mariotte was a French physicist of the 17th century), and it was actually invented almost four hundred years ago. This device lets you have liquid coming out of the tank in a steady flow due to the uniform pressure.
Every ink tank in such system has two holes. One of them delivers ink to the cartridge, and the other lets the air into the tank. The most important condition for the system to work properly is the stable pressure in the tanks and in the tubing.
How to install the CISS by WWM
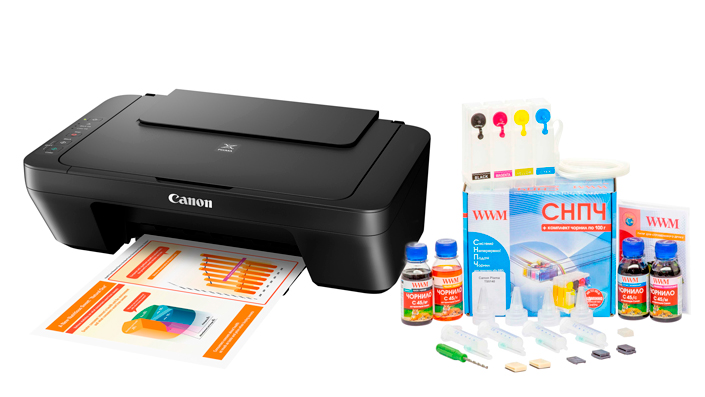
Let’s explore the installation of such system with the example of a multifunction device, Canon Pixma MG2540s
and an ink supply system by WWM, with 100 ml ink tanks. This printer has to be taken apart. Older models could be fitted with such system without changing their design, but as I said before, printer manufacturers are trying hard to make the process more challenging for us ordinary users.
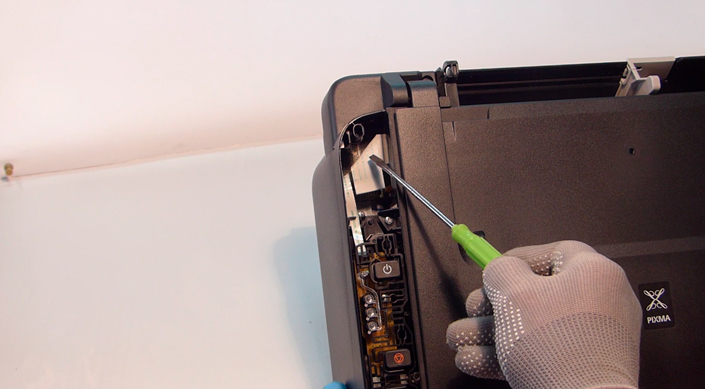
Let’s start by removing the source tray panel and the control panel cover. Use a thin sharp object to make sure you don’t break the latch.
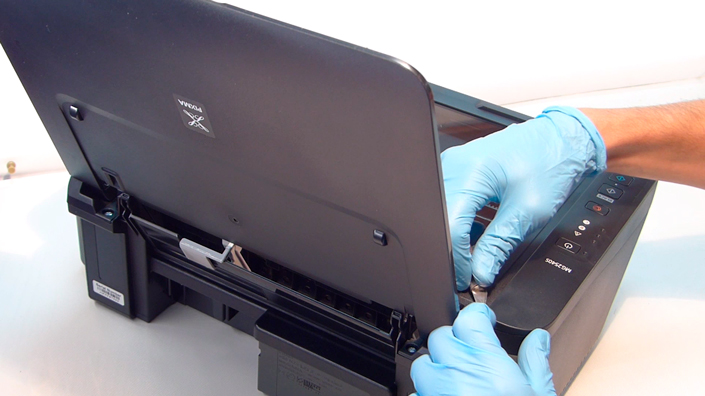
After that, take out two screws from the printer’s body (they are hidden behind the source tray), and remove the scanning unit together with the top cover. Before doing that, you need to disconnect two ribbon connectors – one from the scanner and the other from the control panel.
When it’s ready, it’s time to prepare some holes for fitting the tubes of the continuous ink system into the printer. The ink tanks will be placed next to the printer, and the tubes will go through the holes, will be fixed on the top cover and then go into the cartridges.
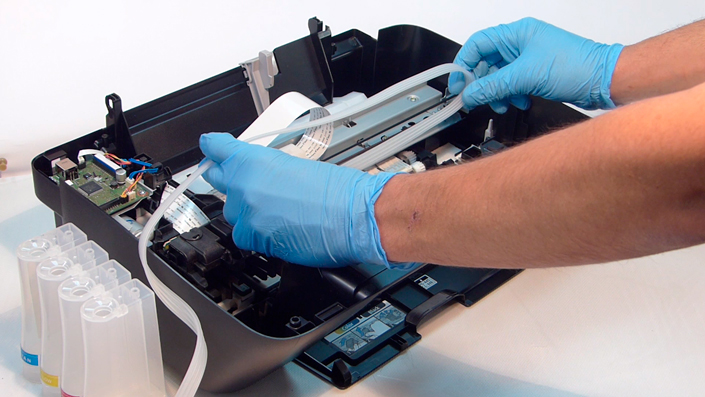
You can use the drill that comes supplied with the ink system. Mark the places for the holes 2.5 centimeters lower than the upper edge of the printer’s body, and opposite the path where the print heads travel, at the same level as the carriage. Drill the holes and make them look neat with an extra tool like Swiss file.
Now get the tubes inside the printer’s body. At the end of each tube, there is an L-shaped connector. You can either remove the connectors before pushing the tubes inside the printer, or take some time to fit every connector through the hole you have just made in the printer’s side. Pull the tubes outside to have more free space for connecting them to the cartridges.
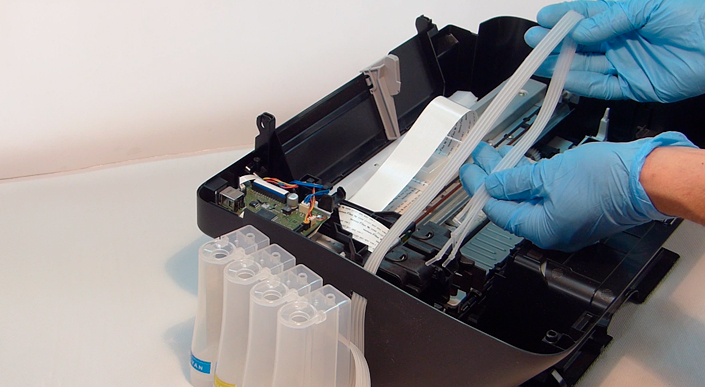
Now it’s time to get the tubes connected to the black and color cartridges. Take the original cartridges that come supplied with your printer from the vacuum package. Be extremely careful not to spoil the nozzles as they are very sensitive to mechanical damage. That is why removing their protective stickers should be the last step.
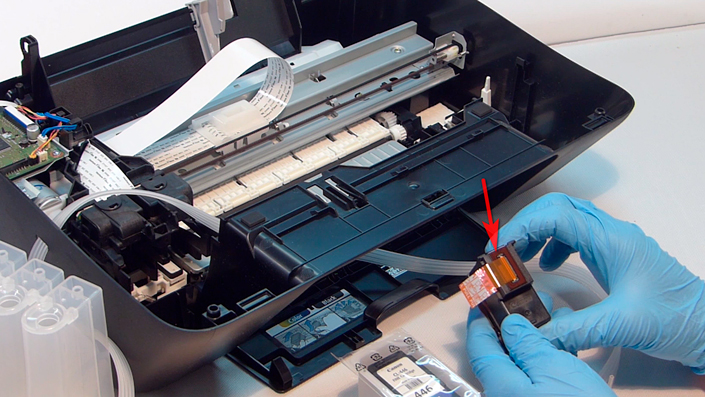
Carefully remove the stickers from the cartridges and place them onto the printer, so that you will always remember what cartridges you are using and what sort of ink is required.
Now it’s time to drill holes in the cartridges; the drill comes supplied with the ink system, and it’s also got a kind of stopper.
We’ll start with the color cartridge.
There is a choice to make on where to drill the upper hole. The first option is to drill it into the round-shaped vent, but the L-shaped connector of the tube that will go into this hole will get caught by the carriage, so you will have to use a knife and do some fine carving to exclude their contact. The second option is to drill the hole a bit lower, and this is what we’ll do. The vent above this hole will have to be covered.
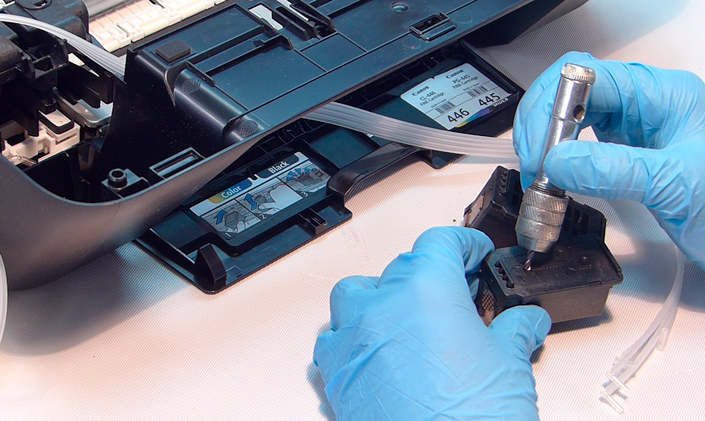
Drilling holes for the other two tube connectors is no problem – put the drill into the vent and go ahead.
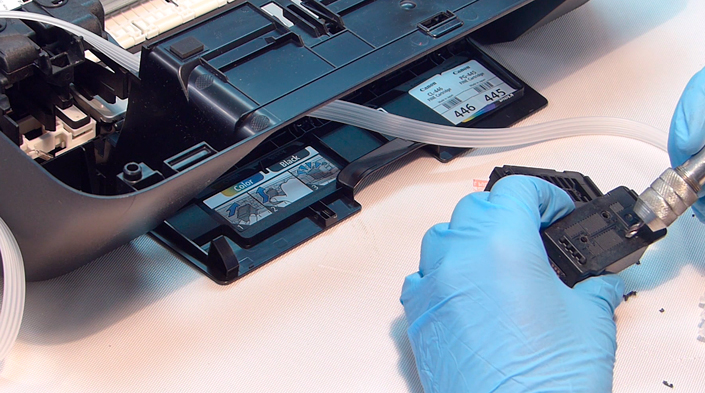
Now let’s drill a hole in the black cartridge – choose the fifth section from above in the left column. Now put sealing rubbers into the cartridges – you can find the rubbers in the box with your ink system. If the rubber won’t go into the hole, chamfer the hole carefully.
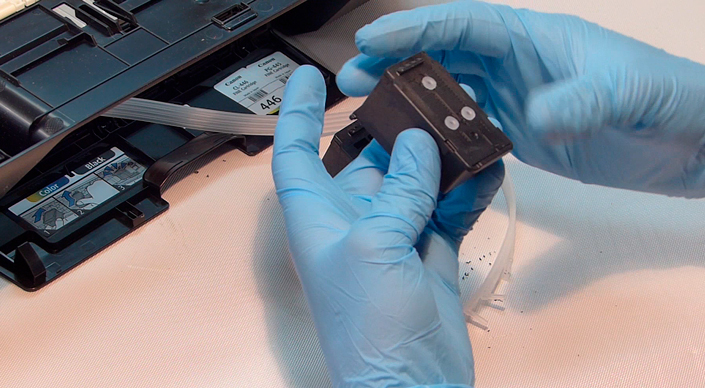
Put the sealing rubber onto the L-shaped connector and plug it into the black cartridge. After that, do the same to the color cartridge.
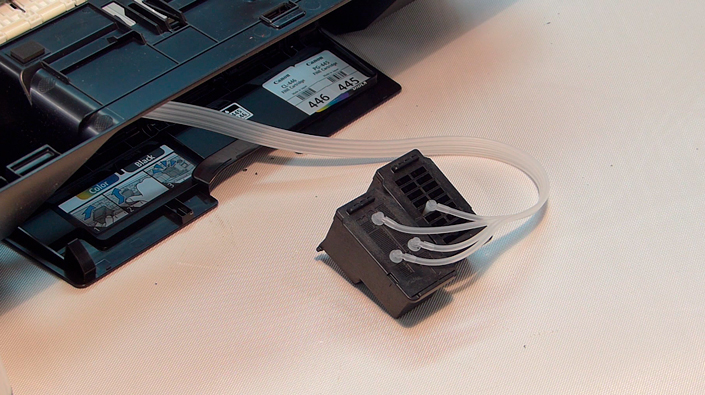
Ink supply lines (tubes):
- Black – the shortest
- Red – the longest
- Blue – a bit shorter than the red
- Yellow – even more shorter than the blue
The next stage is to fill the ink tank.
First of all, close the vents – the smaller holes – with special plugs. We do it to prevent the levels of ink in the smaller and bigger parts of the tank from becoming the same. The two parts are connecting vessels, and they are connected below. If you take out the plug from the vent, the two vessels will be filled equally, and this is something that shouldn’t happen: on the contrary, you need to have less ink in the smaller part of the tank. It is required to compensate the atmospheric pressure.
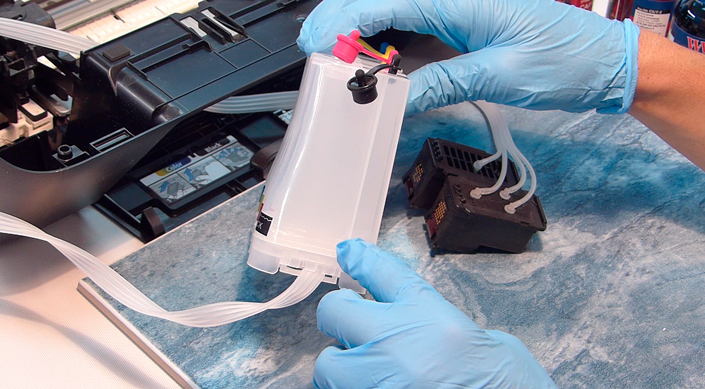
Slowly and carefully (as you don’t need any foam), pour the ink into the tank, until there is about 1.5 centimeters of space left above. Foam is actually the air dissolved in the ink, and it will result in unwanted print quality issues. When the tank is filled, close the filling hole.
In the course of filling the tanks, the ink may flow into the cartridges, if some of the connectors are not leak-proof. If that happens, you can use a binder clip to stop the ink.
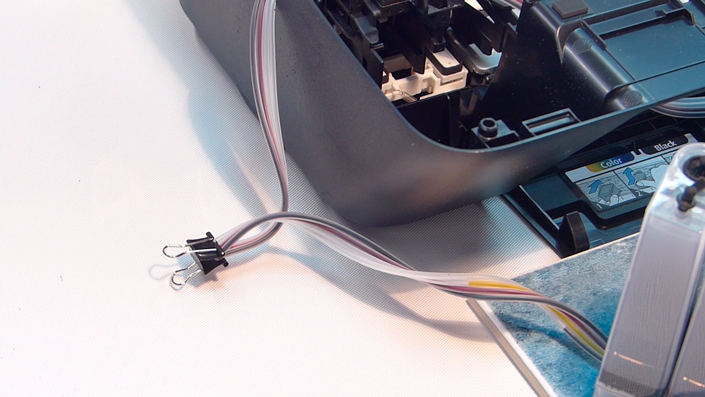
Theoretically, all sealing rubbers should be leak-proof, but if there’s a problem, you can always fix it with a small piece of cotton wool and a bit of super glue. In the black cartridge, tighten the hole with cotton wool, and then put some glue on it.
In the color cartridge, cover the vent hole, under which one of the connectors is plugged. Use some super glue and a toothpick.
Pumping ink into the cartridges
The next stage is to prepare the cartridges and fill the tubes and the cartridges with ink, as the cartridges themselves have very little ink inside, which is meant exclusively for testing the printer that they come supplied with. When you get the cartridges ready, they are filled with ink to the top, every color taking about 2 or 3 ml and about 10 ml for the black cartridge.
Remove the binder clip and open the vents on the ink tanks. The ink system package should include special devices for filling the cartridges. A wider one for the black cartridge and a shorter one for the color cartridge. Remove the protective sticker, press the device tightly and pull at the syringe to suck the air out of the cartridge. The air will be squeezed out of the tubes, and they will be filled with ink instead.
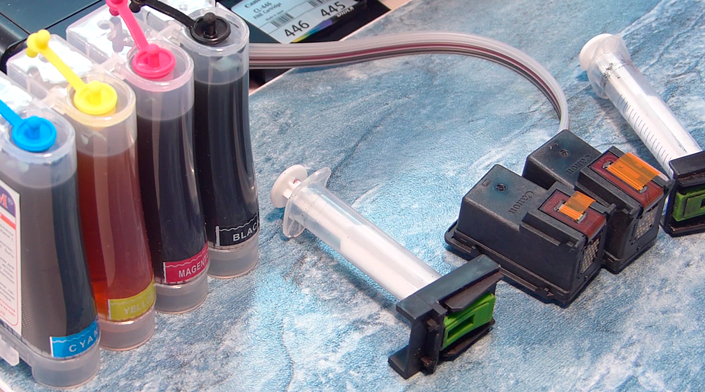
Now cartridges can be installed into the printer. Get the carriage into position for cartridge replacement, line up the ink tubes and push the cartridges into the carriage until you hear a click. Check that nothing gets in the way when the cartridge moves from left to right.
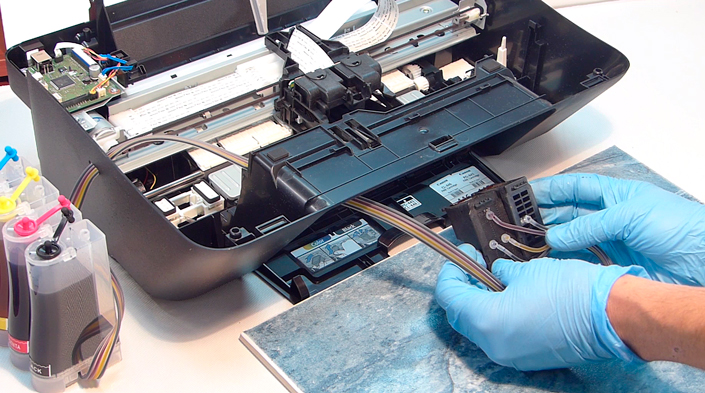
The next stage is to put a clip on the scanner unit and fix the ink tubes in the top position. For this purpose, there are some clips supplied with the ink system. Put the clip on the bottom of the scanner unit, like this.
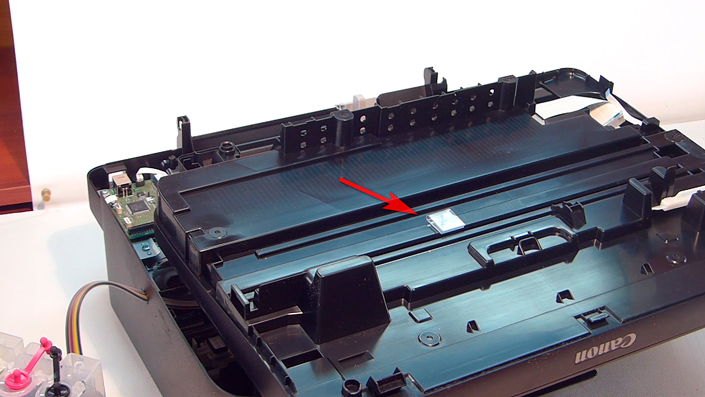
Put the scanner unit back to its place, making sure that the columns in the front fit into special openings. To make it happen, lift the back part of the unit and move it slightly ahead. Fix the cover in place with two screws.
Fitting the flexible ink tubing inside the multifunction device
Now the most difficult part – laying the ink tubes.
Move the carriage a little to the left, fix the tubes with the clip and see how the print heads move and stop to make sure that the ink tubes don’t get in the way.
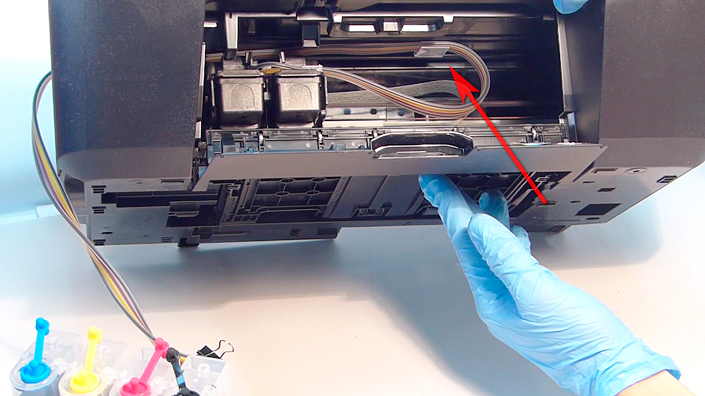
The only thing left to do is to fix the tubes on the outside and then test the printer. The sticky tape on the clip is no good, so we remove it and use a drop of super glue instead.
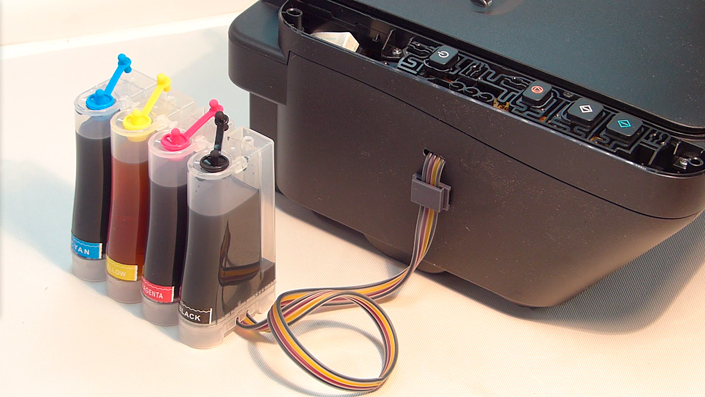
Put the ribbon connectors to their proper places, first the small one, then the big one. Fit the control panel cover. Get the source tray panel back. The last step is to remember to fit the respirator filter plugs into the ink tank vents.
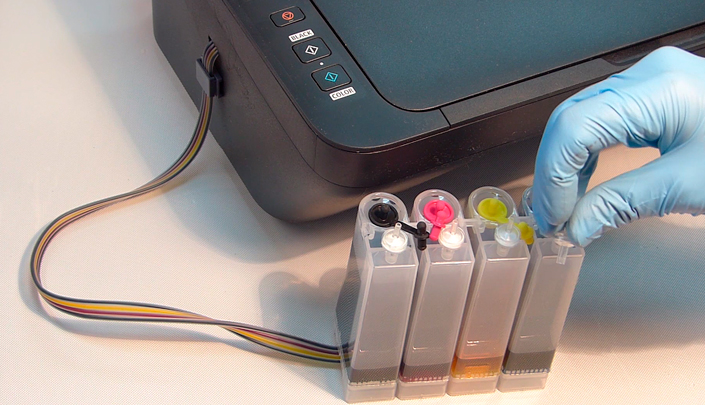
The installation is complete.
Starting the CISS and testing the print quality
Now it is time for a test run.
Turn the printer on and wait until it is ready for work. First of all, the printer will clean the print head and the nozzles, then sucks some ink from the tanks. When the self-diagnostics is over, the green diode will stop blinking.
Start the service mode to check the print head nozzles. Press and hold the red button and release as soon as it blinks. The printer runs a self-test, pumps some ink, cleans the nozzles and prints a test page.
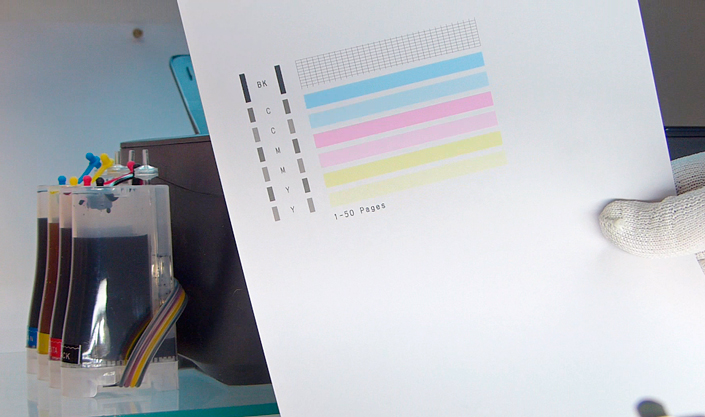
By looking at the test page, you can see what color should be printed, if there are any nozzles with issues, and if the ink is supplied properly to the print heads.
Now let’s print a colored test picture, and check how the scanner works. Press the Color button on the printer.
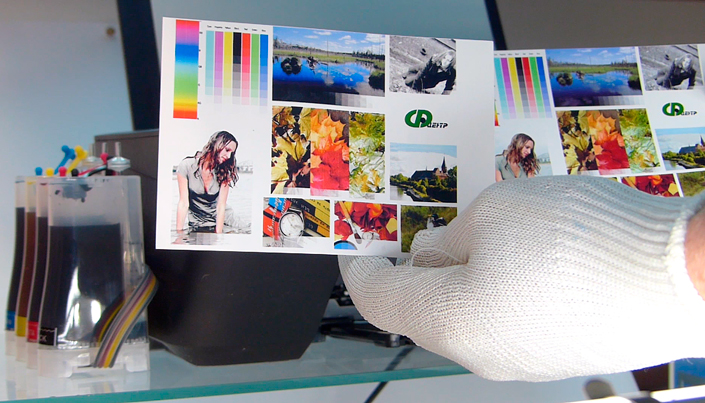
This sample has a fountain fill, so we can evaluate how good how good this inkjet printer is at reproducing shades of color.
Placing the CISS tanks properly and controlling the ink level
Finally, I’d like to draw your attention to how the ink tanks are positioned. You should never position the tanks on a higher level than the printer!
If you put the tanks on the printer, one day you can find your multifunction device all covered in ink.
One more time, I’d like to remind you about the level of ink in the tanks!
As I have already said before, the level should be different. If you remove the plug from the filling hole, the ink in the two parts of the tank will get to the same level, and the printer will be spitting ink when you try to print something.
If this is what happened to your printer, take out the filter plugs, put plugs into all ink tank holes and lean the tanks to the side so that most ink flows from smaller parts to bigger parts. After that, open the vents, put the filters back, and try printing again.
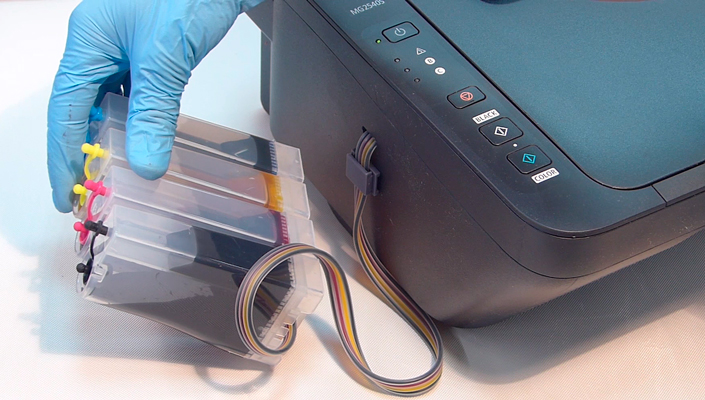
Now your printer is ready for work.
We hope this article was useful for you and helped you to install a CISS system on your own.





If you have any questions, or you’d like to share your experience in installing a CISS to a printer, leave a comment to let us know!
Hi, thank you for this very nice publication ! I have a question about sealing rubbers. Normally when we are refilling the tank, the ink must not flow into the tube ? If so, we need to repair it with cotton wool and superglu ? But if we need to do that I haven't got really understood how we can make that (where we need to place the cotton, into the cartridge ? can you explain much more please) Thank you for your help, Maxime
Hi. I have the same canon printer as the sample above. My printer is new with new ink cartridges. The black ink is almost empty and the colors are still good. Should I used all the inks first before converting the it into ciss? Thank you.