Starus Office Recovery was designed for ordinary computer users to help recover lost documents in the comfort of their home or office. When using Starus Office Recovery, you won’t have to take your computer apart, get the hard drive out and send it away. Instead, you can simply install the tool and be guided through the recovery process one step after another. It’s just that easy.
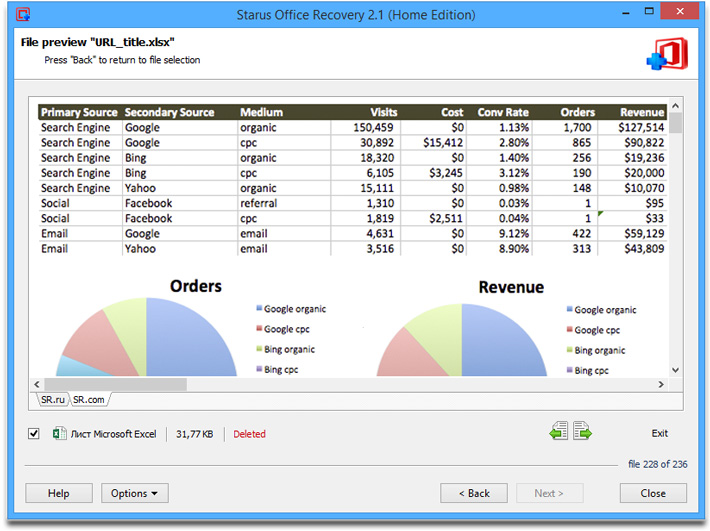
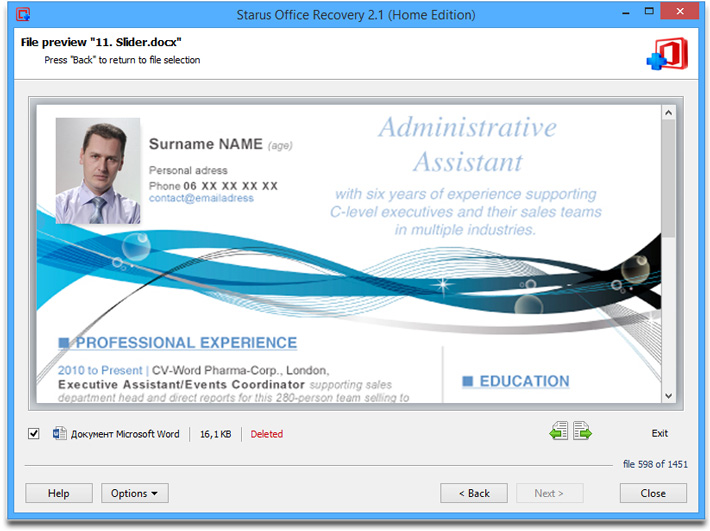
You can try Starus Office Recovery before purchasing. The tool is equipped with a built-in pre-recovery preview allowing you browsing through and viewing documents before they are being recovered. If the document displays correctly in the preview window, your chances of successful recovery are extremely high.

Recovering Word Documents and Excel Spreadsheets
Starus Office Recovery was designed specifically to deal with deleted documents and spreadsheets produced by all versions of Microsoft Office (including Office 2013) and OpenOffice. Supporting DOC, DOCX, XLS, XLSX, RTF, ODT, ODS, PDF and many other document formats, Starus Office Recovery can reliably detect, locate and recover documents stored on healthy, damaged, formatted and inaccessible storage devices. Let’s see how one can recover documents with this tool.

Installing a Document Recovery Tool
Installing a data recovery tool is different from installing any other application. For optimal results, do not attempt to install Starus Office Recovery onto the same disk you’ll be recovering documents from. If your documents are stored on disk C:, install Starus Office Recovery to drive D:, or use a removable flash drive. On the other hand, if your documents were kept on a USB drive, you can install Starus Office Recovery to drive C:.
A Guide to Recovering Documents
Starus Office Recovery is used by ordinary computer users at home and in the office. We made it truly safe and easy to use thanks to the fully guided document recovery wizard. This step-by-step wizard guides you through the entire recovery process, helping you choose the best settings for optimal results. Let’s have a look at how it works.
Where Are Your Documents?
On step one, you’ll need to choose the disk where your documents are (or were) stored. If your storage device appears in the system as a drive letter, select it in the list of available disks. If, however, the device is not recognized, or if you repartitioned the disk, you will need to select the entire physical device to scan. Note that scanning the physical disk will take much longer than dealing with a drive letter, so let’s try to do something about it.
Searching for Partitions
Important: this step is ONLY needed if the partition or volume you are recovering from does not appear in the list of drive letters.
If you deleted a volume, repartitioned the disk, or are recovering from a storage device with broken system structures, you may want to locate the original partitions first. While you can technically skip this step and still recover documents, we strongly advise you to use a special tool to scan your hard drive for available partitions. To do that, first select the hard disk from the list of physical devices, then use the Options – Discover Partitions command.
Starus Office Recovery will automatically scan your hard drive to discover all available partitions, adding them to the list of available disks. You can then use those disks to recover documents from.
Note: if you only have a single partition (drive C:) on your hard drive, it fill be discovered during the first seconds of disk scan. There is no need to continue scanning the rest of the disk. Once your system partition is discovered, you may interrupt the scanning process and move on to the next step.
Quick Scan vs. Deep Scan
Starus Office Recovery offers three distinct options to scan your hard drive.
First, there’s Quick Scan. In this mode, Starus Office Recovery will analyze the file system in order to find deleted or missing documents. In Quick Scan mode, Starus Office Recovery will be able to recover full information about the file such as the file name, date and time.
Quick Scan works extremely fast, and completes in a matter of seconds. However, if you are recovering documents that were deleted a long time ago, or attempting to extract files from a formatted, repartitioned or otherwise damaged storage device, Quick Scan may not return all available documents. If this is the case, you can try Deep Scan.
In Deep Scan mode, Starus Office Recovery reads the entire content of your device in low-level mode. The tool will be scanning the disk looking for matching signatures that can be used to identify documents in known formats. If a matching signature is detected, Starus Office Recovery will calculate the exact location of a document on the disk. Deep Scan is perfect when recovering from badly damaged, formatted and repartitioned devices.
There are downsides to Deep Scan, too. In this mode, Starus Office Recovery works much slower than using Quick Scan. The speed will depends on the size and speed of the disk being scanned. For example, using Deep Scan on a 1 TB hard drive normally takes 3 to 6 hours to complete. In Deep Scan mode, file names or attributes will not be recovered.
Starus Office Recovery offers a third mode combining the benefits of Quick Scan and Deep Scan analysis. In this mixed mode, Starus Office Recovery will analyze the file system first, then perform the Deep Scan analysis of the disk. In this mode, the tool will be able to locate all recoverable documents complete with their file names and attributes.
Click Next to move on.
Filtering Search Results
If you have hundreds of documents on your hard disk, you’ll probably see thousands being discovered. Why does that happen? Every time you save a copy of a document or spreadsheet being edited, Microsoft Word or Excel will create a new copy of the document, save the updated document, and delete the old copy (or store it in a special recovery folder just in case you need the old copy back). Either way, you’ll see multiple copies of each document you’ve been working on.
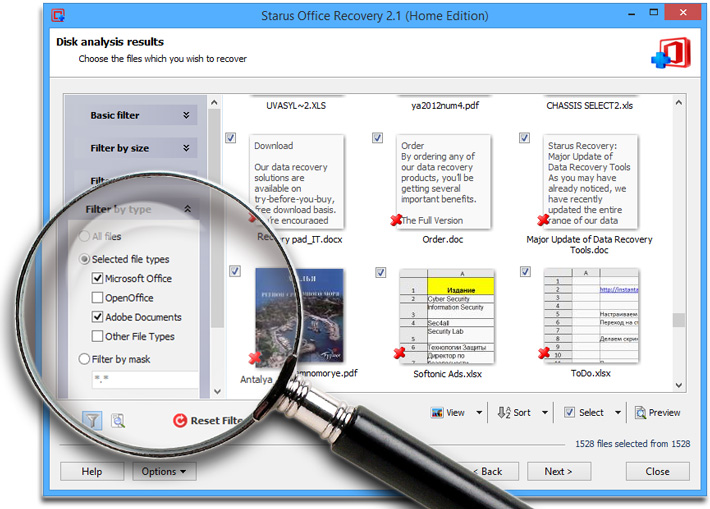
During the recovery, you’ll most likely want to recover the latest copy. And here come advanced searching and filtering options. Starus Office Recovery allows you to search files by their size or data range, filter by file name (in Quick Scan mode only) and specify which types of files to recover (Word documents, Excel spreadsheets and many other formats).
Document Preview
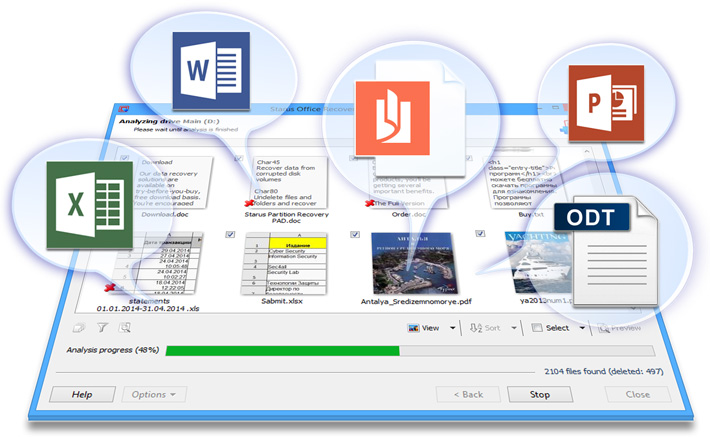
Once you configured the filters, start disk scan. Starus Office Recovery will be adding documents it discovers during the scan. You can terminate the scan at any time if you see the document you were looking for. The documents being discovered will be added with thumbnail-sized previews. Once the scanning process is complete, Starus Office Recovery will open a new window listing recoverable documents. Click on any document to open a full-size preview.

Once the scanning process is complete, you can click to select files to recover. Advanced searching and filtering options are available, helping you locate the latest saved versions of documents. Make sure to preview files before recovering. Sometimes, the latest version of a file may be corrupted, while a slightly older version of the same document is perfectly fine. This is exactly the reason we strongly recommend using the preview feature.

Saving the Documents
While saving files is never complicated, using the saving feature of a data recovery tool such as Starus Office Recovery places certain limitations on WHERE you can save your files to. In order to make the recovery process as safe as possible, DO NOT save documents being recovered onto the same disk you recover them from. For example, if your documents are stored on disk C:, save their recovered copies onto drive D:, or better yet, use a USB flash drive. On the other hand, if your documents were stored on a USB drive, you can simply recover them to drive C:.
Starus Office Recovery offers a bunch of options to make saving files easy. You can save documents to a new drive letter, burn CD/DVD media, create ISO images or upload the documents onto an FTP server.
Recovering Documents Onto a Hard Drive
Using a local hard drive (or a connected USB flash drive) is the fastest and easiest option. As noted, make sure you actually use a DIFFERENT drive to save the documents to, and NOT the disk you are recovering from. Other than that, the process is simple. Specify a folder to receive the recovered documents, and click Recover. Starus Office Recovery will begin saving documents.
Advanced options include the ability to recover the original folder structure (the “Recover folder structure” option). If you disable this option, all documents will be saved into a single folder.
Burning Documents to a CD or DVD
Starus Office Recovery offers an option to burn documents being recovered onto a CD or DVD blank. The tool is equipped with a built-in CD/DVD burner allowing you to write discs without having to use a separate tool.
Using Starus Office Recovery as a CD/DVD burner is not different from using any other CD/DVD burner on the market. Specify disc label, select burning speed and choose the file system, and you’re ready to go. There is an option to wipe rewriteable media and to create/continue multisession discs.
Saving Documents into ISO Images
Another option is saving your documents into ISO images. These images are files in a standard format that can be written onto a CD or DVD with any CD/DVD burner. Disc label and file system options are available.
FTP Upload
Finally, if you don’t have a dedicated drive letter to save recovered files to, or if you are recovering documents for somebody else, you can use FTP upload as your saving option. Starus Office Recovery comes with a built-in FTP client allowing you to upload documents onto a remote server.
Using FTP upload is simple. Just specify server address and its login and password if used and use advanced options if required. For example, you can specify a remote FTP folder to save documents to. Set this up once, and you’re ready to go.
Please note that FTP connections are slower than a local hard drive, and can be slower than a USB flash drive. As a result, the recovery process using FTP upload may take longer to complete compared to fully local recovery.